curl Header Guide to Sending HTTP Headers

Curl is an open-source command-line tool used to transfer data via protocols such as HTTP, HTTPS, FTP, and more. It uses a URL syntax for specifying the protocol and destination server for the request.
Its versatility makes it very popular among developers and system admins for use cases such as network debugging, API testing, scripting and automation, and even web scraping.
In this article, we’ll focus on curl HTTP headers and how to use them. We’ll explain what curl headers are, how to send custom headers with the request, and how to check the headers in the response. We’ll also cover other essential command-line options for working with curl.
Understanding Curl Headers
Curl headers represent HTTP headers that can be sent with a request to add more context to the client-server communication. They are specified as key-value pairs that control features such as authentication, content-type negotiation, caching, and other essential communication details.
They can also include additional metadata, such as the client type, server hostname, or content length. These headers can play a pivotal role in specifying how the HTTP request or response should be handled.
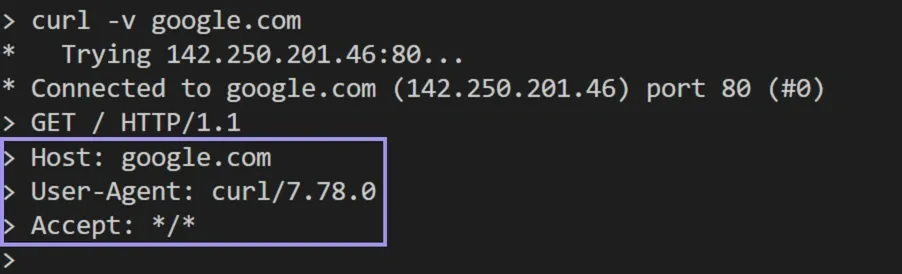
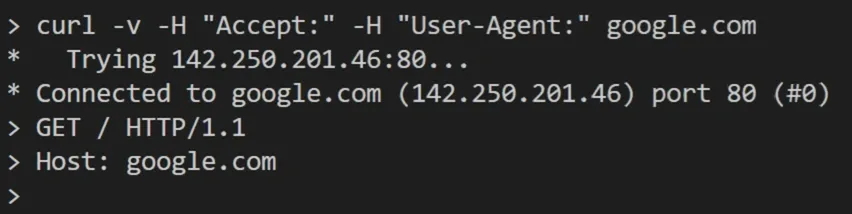
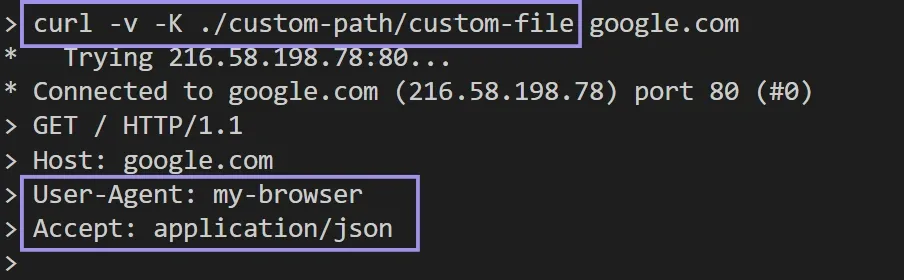
Some standard HTTP headers are sent by default when using a curl command, these include User-agent header, which specifies the client software type. Host header specifies the hostname of the server, and the Accept header specifies the type of content that curl can accept and process.
We can see these headers if we provide the -v option for verbose output with the curl command:
Understanding the different HTTP headers and how to use them is crucial for creating and managing effective client-server communications.
Sending Custom Headers
Besides the default headers, we can also provide custom headers in our request by using the curl -H option and specifying the key-value pairs for the header. This enables us to pass information like authentication, content type, or other metadata.
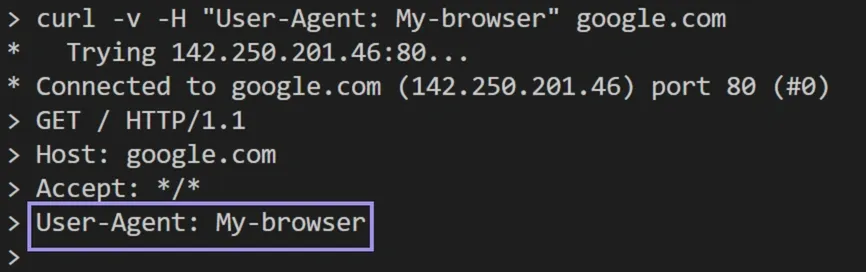
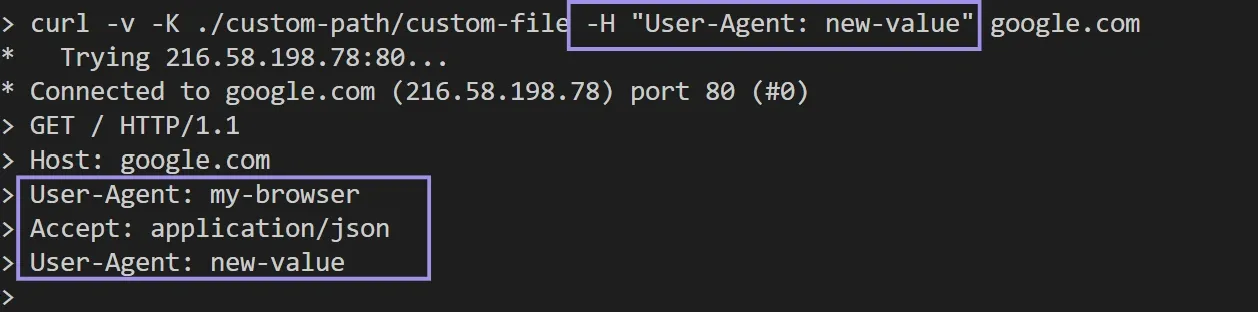
For example, we can override the default User-Agent header to act as if the request is sent from a browser instead of curl:
Again, if we use the -v option, we can see that our header is sent with the request:
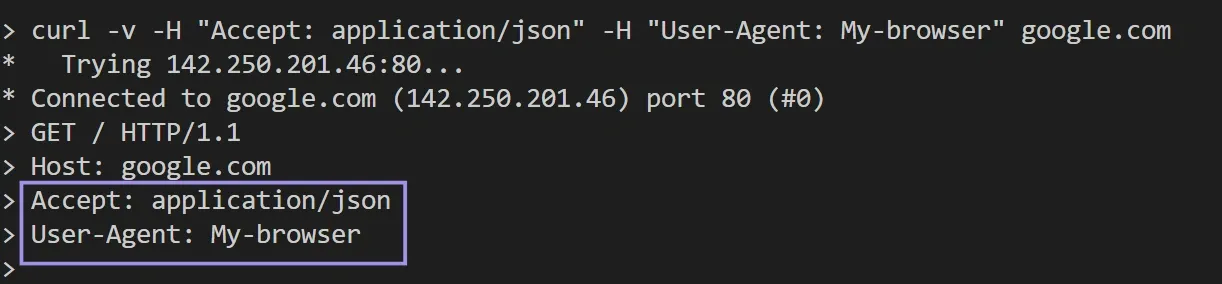
Similarly, we can override the Accept header to specify a particular type of content that we can accept as a response from the server instead of the default */* which specifies any type of content:
Here we specify that we expect the response content to be in the JSON format.
We can also send multiple custom headers in the same request by using the -H option multiple times in the same command:
Removing Default Headers
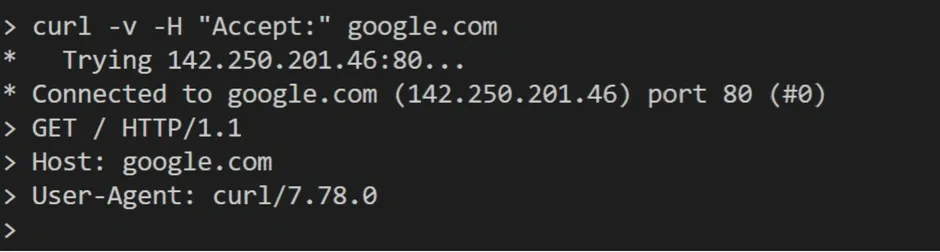
We can remove a default header that curl sends by using the -H option and adding a colon after the header name without providing any values. For example, we can remove the Accept header as follows:
Similar to adding multiple headers, we can also remove multiple headers by providing the -H option multiple times for each header we want to remove:
Setting Default Headers with a Config File
If you want to set specific headers to be sent with all curl requests by default, you can provide them inside a configuration file instead of specifying them each time when you type the curl command.
When curl is invoked, it looks for a default config file (unless -q option is used) in several locations. Common ones include $CURL_HOME/.curlrc, $XDG_CONFIG_HOME/.curlrc, and $HOME/.curlrc. On Windows it checks locations like %USERPROFILE% and %APPDATA%. On Windows, curl checks two filenames per location: .curlrc and _curlrc (preferring .curlrc). This config file is a plain text file that you can create and populate with any text editor.
Each header should be added in the file in a separate line, and you can specify it with the long form header = “key: value“ or the short form -H “key: value”. Now let’s add a default custom User-Agent and Accept headers:
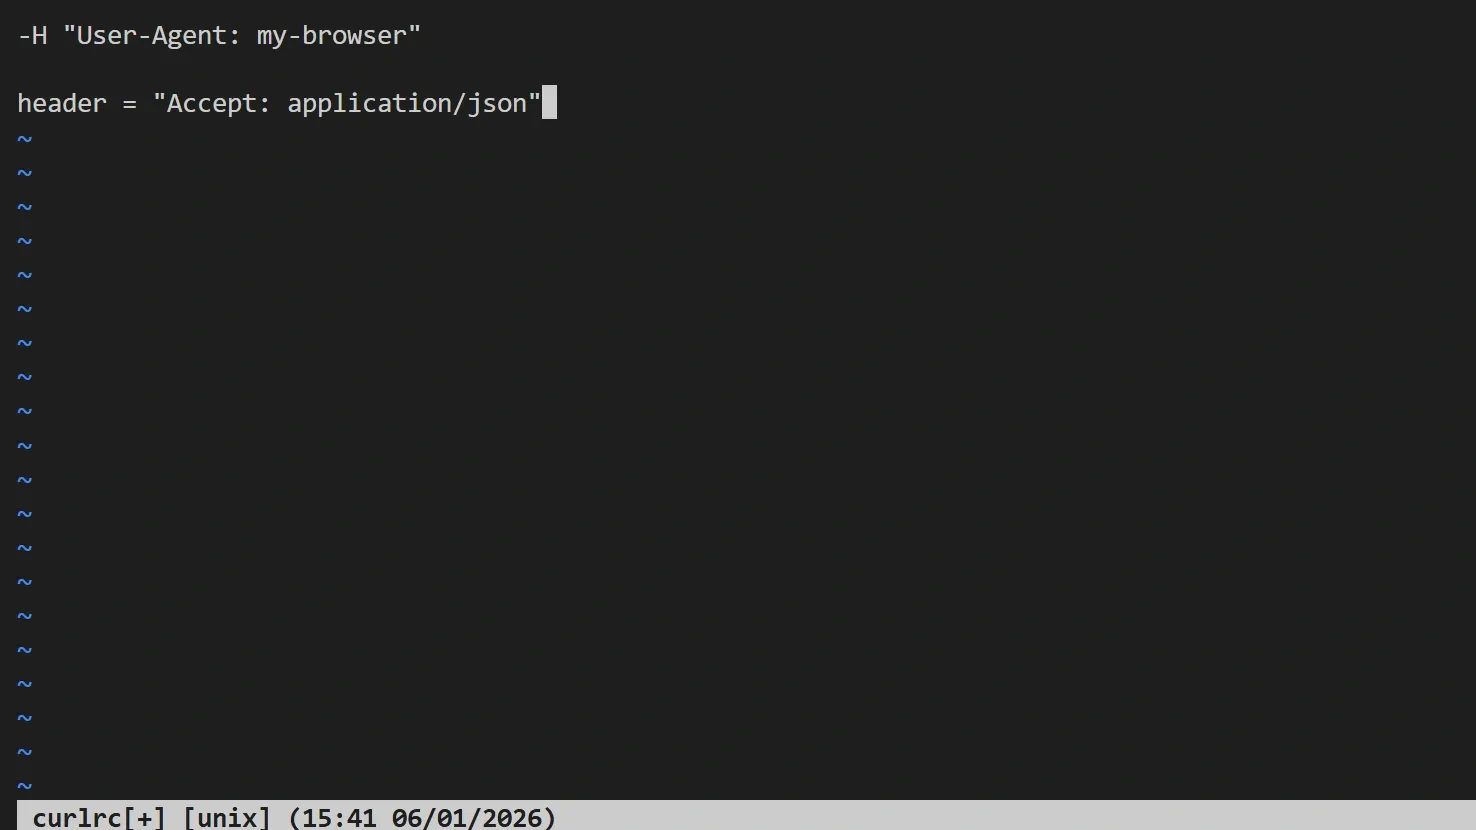
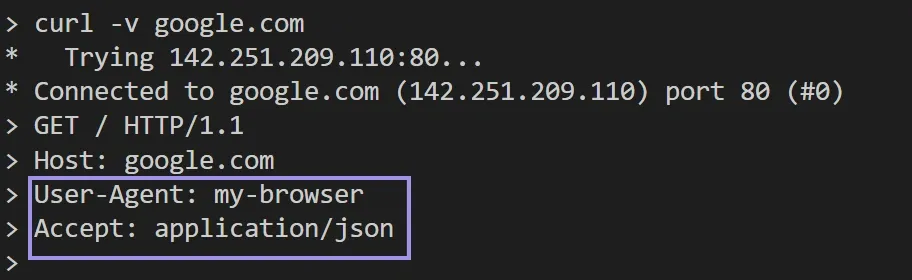
If we save the file and use curl we should see these headers sent in the request:
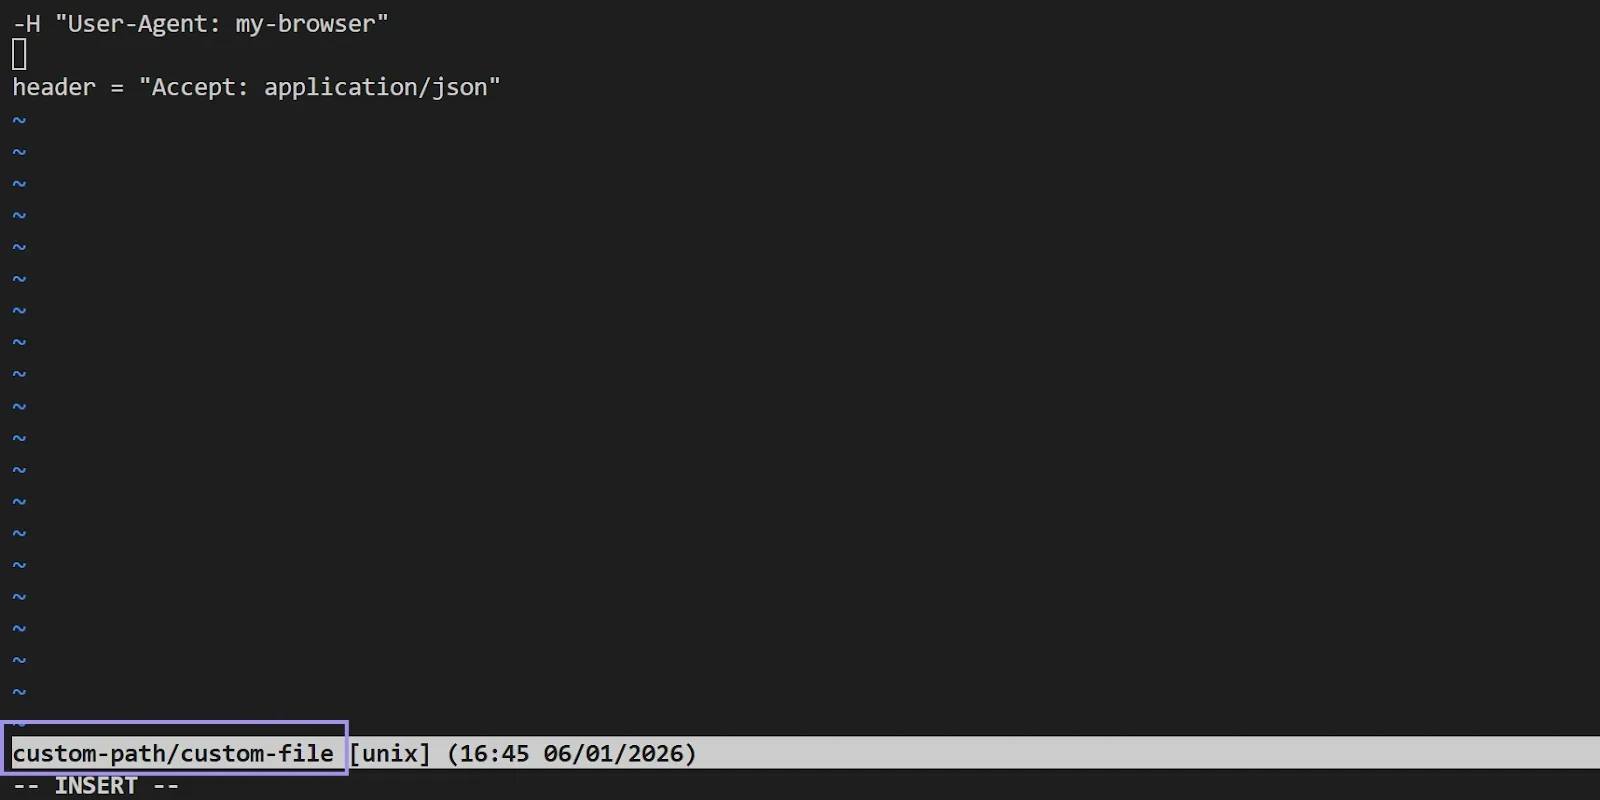
We can also specify a different file name and location for the configuration file by using the -K option with the curl command:
If you provide a header within the curl command that is already provided in the configuration file, curl will send both headers in the request rather than overwriting them:
You can also send multiple headers with the same name by using the -H option multiple times (in addition to the headers already in the config file). However, for some headers like Authorization it’s usually a bad idea. As a general guideline, try to avoid duplicates unless you know the server’s behavior.
Curl Command Options
We can further modify the HTTP request sent by curl using additional command-line options. Let’s explore some of these options that are most commonly used by developers and administrators.
Modify the Request Method
All the previous examples for curl sent an HTTP GET request which is the default request method, but we can specify a different request method using the -X option. For example, we can send a POST request with curl as follows:
Or send a DELETE request with curl for a specific resource as follows:
The same command syntax can be used for other HTTP methods also like PUT, PATCH, or OPTIONS. Curl supports almost all HTTP methods which makes it very handy in testing or debugging HTTP API endpoints.
Send Data in the Request Body
For some HTTP methods like POST or PUT, the request usually has some data in its body which is the content that we want to send to the server. To specify this data with curl we can use the -d option:
In the above command, we send JSON data as the body content, if we want to tell the server that the content type is JSON, we can add a header for that using the -H option as we did in previous examples:
The curl command is also smart enough to know that if a request has body data with the -d option, it will default to a POST request. So, you can only include the -d option and omit the -X if you send a POST request:
Basic Authentication
The HTTP protocol can include authentication information that secures access to the resources on the server. This information is included in an HTTP Authorization header that’s sent with the request. One common type of this authentication is the Basic Authentication, which involves sending a username and password that are base64 encoded.
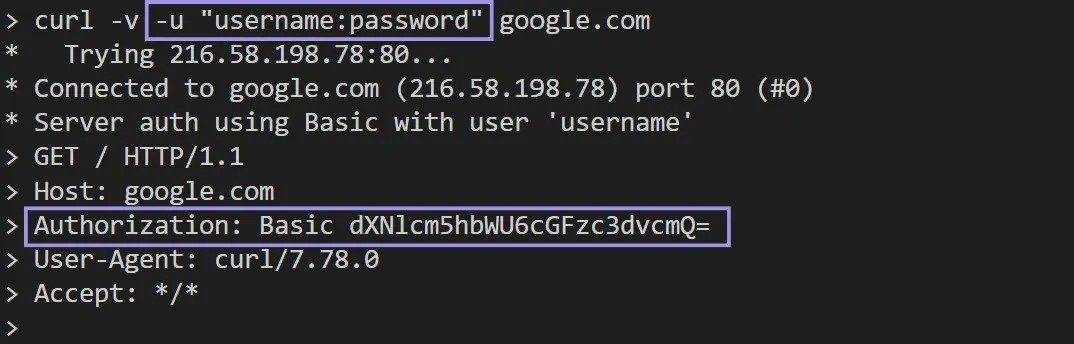
Instead of manually calculating the base64 encoded value for the username and password and then sending it in the Authorization header using the -H option, curl simplifies this process by using a single command option which is -u. This command option takes the plain username and password values and automatically generates the base64 encoded value and sends the header with the request:
If we use this option, we should see the Authorization header automatically added to the request:
View Response Headers
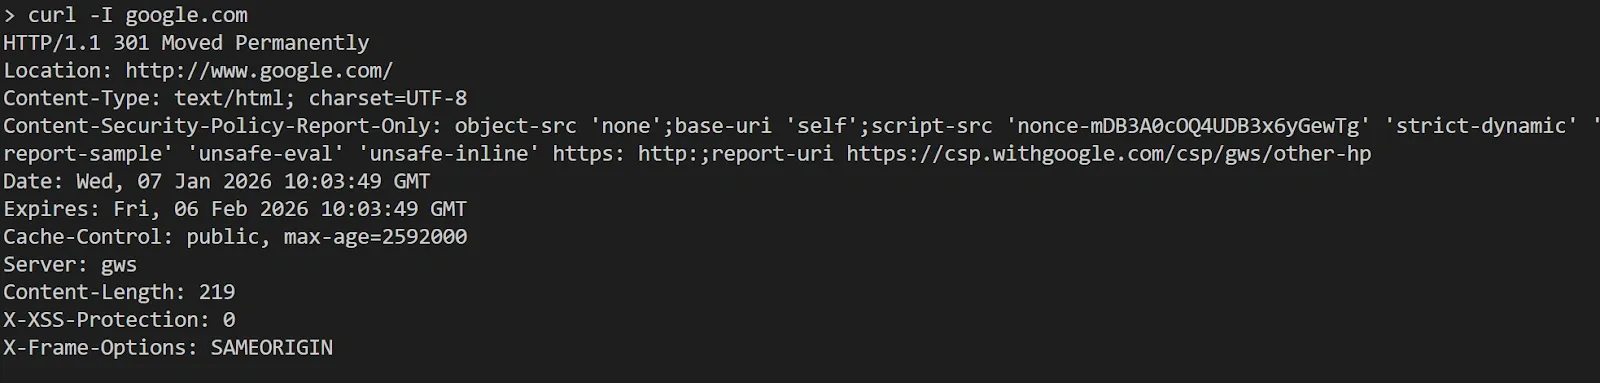
When sending an HTTP request using curl, the response from the server can also include some headers. The -I option fetches headers by making curl issue an HTTP HEAD request (no response body). Some servers handle HEAD requests differently from GET requests:
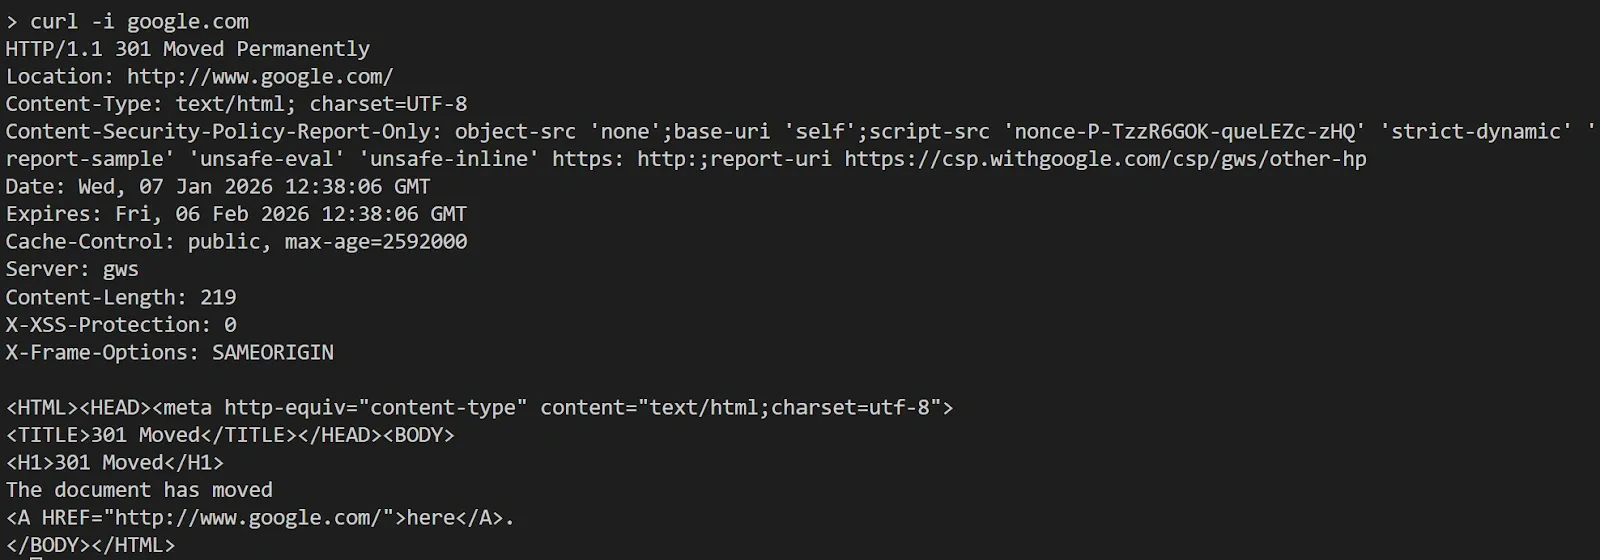
We can also view both the response headers and content by using the -i option:
Using curl with a Proxy
The curl command also supports using a proxy server when sending HTTP requests. This can be achieved in multiple ways, whether by adding a command-line option directly in the command, providing the proxy option in the configuration file, or using an environment variable.
Add a Command Option for Proxy
The quickest and most direct way is to use a command option that specifies the proxy server in the curl command. We can achieve this by using the -x option followed by the proxy details:
If the proxy requires authentication we can provide the username and password in the proxy details as follows:
The same command syntax can also be used for other types of proxies like HTTPS or SOCKS proxy. You just need to modify the protocol specified in the URL:
Add the Proxy to a Configuration File
If we want to persist the proxy configuration with all curl commands without typing it every time, we can use the curl configuration file explained previously and add a line for the proxy with the following syntax:
Again we can provide other proxy protocols in the URL:
Add the Proxy using Environment Variables
Another option for providing proxy information to curl is to use environment variables. By default, curl reads proxy env vars like http_proxy and https_proxy (and generally their uppercase variants too), but http_proxy is a special case and is typically only honored in lowercase.
You can set these environment variables on Linux/MacOS as follows:
Or on Windows like this: