XLogin Proxy Setup: How to Configure Proxies

Managing multiple accounts often breaks at the network level. If two browser profiles reuse the same IP, or an XLogin proxy is unstable or misconfigured, platforms may trigger CAPTCHAs, verification loops, or sudden logouts.
This guide shows you how to generate proxies, add them to XLogin correctly, test them before launching profiles, and follow simple best practices to keep each profile isolated and stable.
What Is XLogin?
XLogin is an anti-detect browser built for managing multiple online accounts in isolated browser profiles. Each profile runs as a separate environment with its own cookies, local storage, cache, and session data, helping prevent activity from leaking between accounts.
XLogin also lets you configure browser fingerprint attributes such as user agent, operating system, screen resolution, and language, so profiles stay consistent across sessions.
However, browser isolation alone is not enough. If multiple profiles connect through the same IP address, platforms can still link them at the network level. This is where proxies come in. XLogin supports assigning an external proxy to each profile, routing that profile’s traffic through a dedicated IP.
Why Proxies Are Required In XLogin?
XLogin isolates browser data, but it does not isolate network traffic by default. If multiple profiles connect through the same IP address, platforms can still link them using network signals.
Using a dedicated XLogin proxy per profile prevents IP overlap, keeps traffic separate, and helps maintain stable location signals, which can reduce verification checks and connection issues.
Unsure which proxy type is right for your workflow? Use XLogin with our 1GB of free residential bandwidth
What you need for XLogin proxy setup?
Configuring proxies in XLogin, needs a few prerequisites:
First, install XLogin on your system and make sure you can access the dashboard without issues.
Next, prepare your proxy details. You will need:
- Proxy host or IP address
- Port number
- Username and password (if authentication is required)
XLogin setups commonly use HTTP, HTTPS, or SOCKS5 proxy protocols, so confirm which protocol your proxy supports.
It also helps to plan how proxies will be assigned. Each active browser profile should use its own proxy to prevent IP overlap and maintain clean isolation.
Step-By-Step: Adding And Assigning Proxies In XLogin
This section walks you through adding an XLogin proxy and assigning it to a browser profile. Follow each step in order.
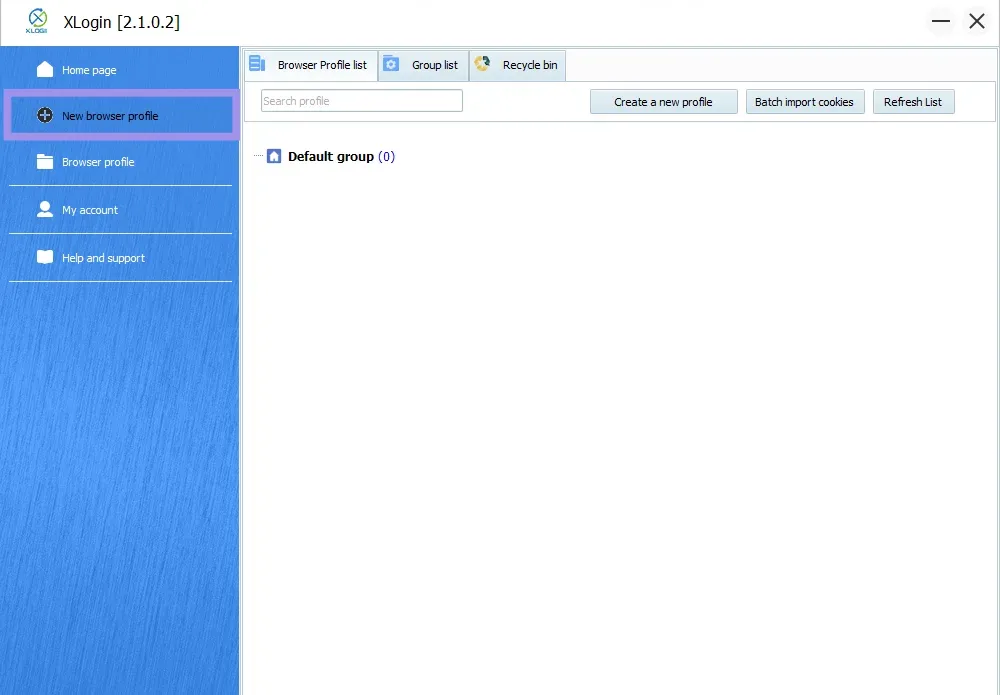
Step 1: Start A New Browser Profile
Open XLogin and click New browser profile (or edit an existing profile). This opens the profile setup screen, where you configure identity and network settings.
Step 2: Open Proxy Server Settings
On the profile setup screen, select Basic configuration, then click Setting proxy server. This opens the proxy settings window, where you enter your proxy details.

Step 3: Enter Proxy Details And Test The Connection
In the proxy settings window:
- Enable the proxy server
- Select the correct protocol (HTTP, HTTPS, SOCKS5)
- Enter proxy host/IP, port, and credentials
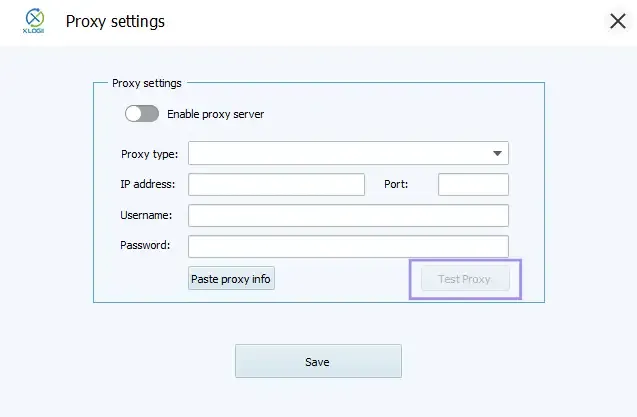
Once the details are added, click Test Proxy and confirm:
- The proxy connects successfully
- The returned IP looks correct
- The location matches the intended region
Pro Tip: XLogin primarily assigns proxies at the profile level during profile creation or editing. However, if you’re setting up many profiles, XLogin also supports batch importing proxies after profiles are created. Select multiple profiles, right-click, choose Batch import proxy to the selected profile, then upload a TXT file with one proxy per line in this format:
Example: SOCKS5:127.0.0.1:5500:xlogin:1234
If the proxy does not have a username and password, those fields can be left empty (proxy type, IP, and port are required).
Step 4: Launch The Profile And Confirm The Active IP
Save the browser profile and launch it. Once it opens, confirm the active IP using an external IP checker.
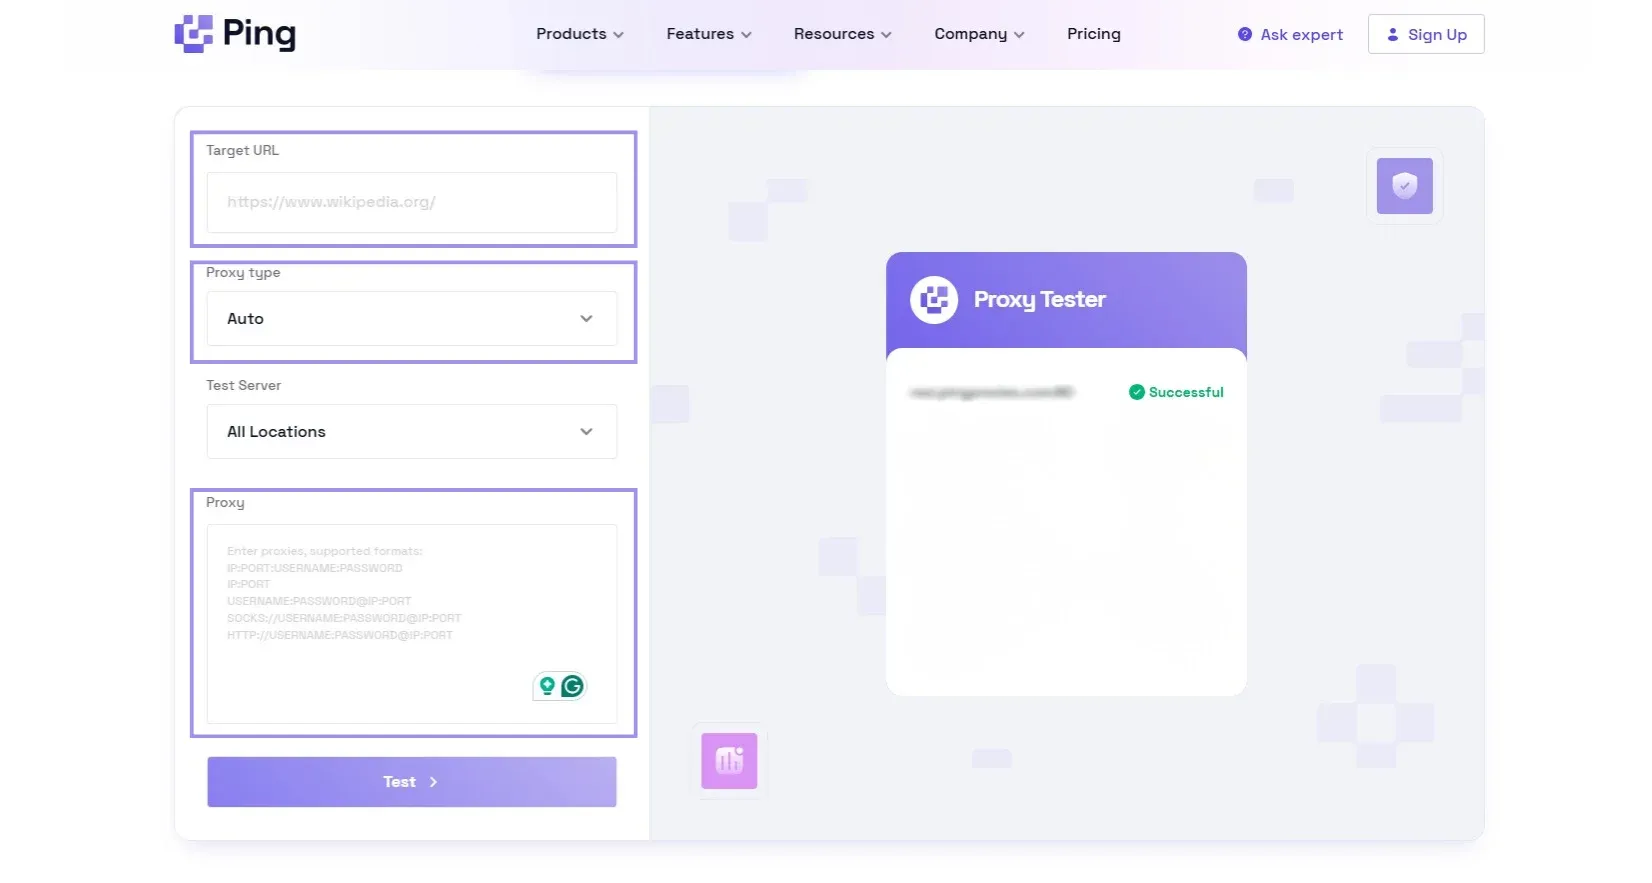
To reduce trial-and-error, you can also validate proxies before using them in XLogin with the Proxy Tester. It’s a free tool that checks proxies for uptime, speed, and regional performance. Paste your proxy list, run the test, and you’ll see which proxies are good to go. You can also share or export results if needed.
Generate Proxies
For XLogin profile to work, you need a working proxy endpoint (host/IP, port, and credentials). If you don't have proxies to start with, check out the below steps to generate proxies.
Note: The steps below might vary depending on the proxy provider. Hence, our goal is to guide you through the process and demonstrate it using Ping Proxies, so you get a general idea of how to proceed, regardless of the proxy provider.
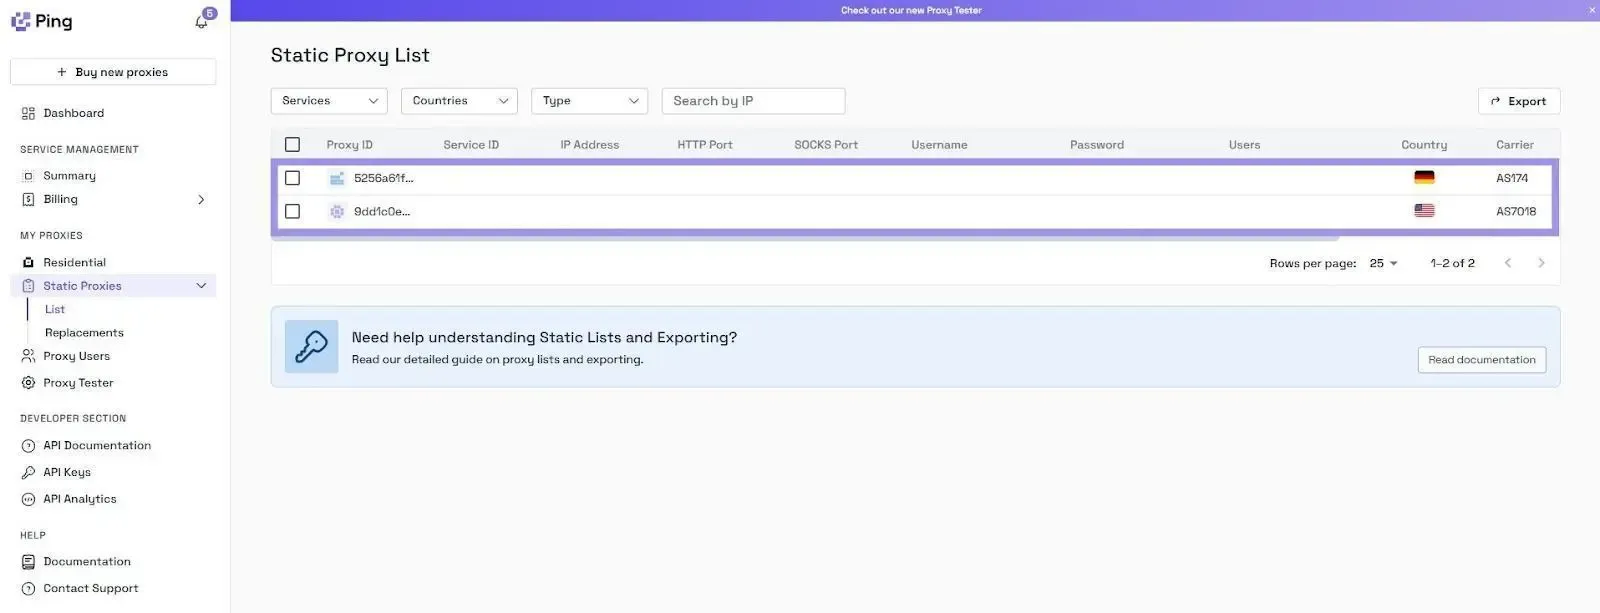
Static Proxies
Static proxies give you a fixed, stable IP (a static IP) that stays consistent over time. They’re usually the best fit for long-running sessions and profiles that need a stable network identity.
1. Go to My Proxies, then Static Proxies, in the dashboard.
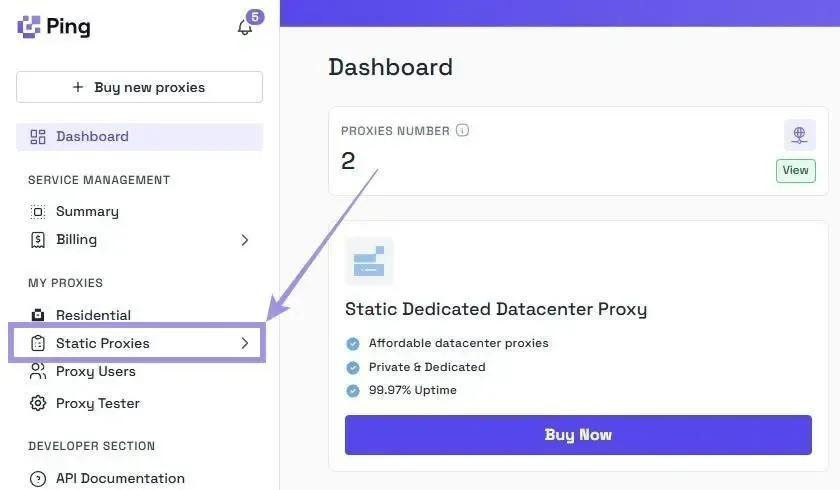
2. Copy the proxy values you’ll paste into XLogin (host/IP, port, username, password).
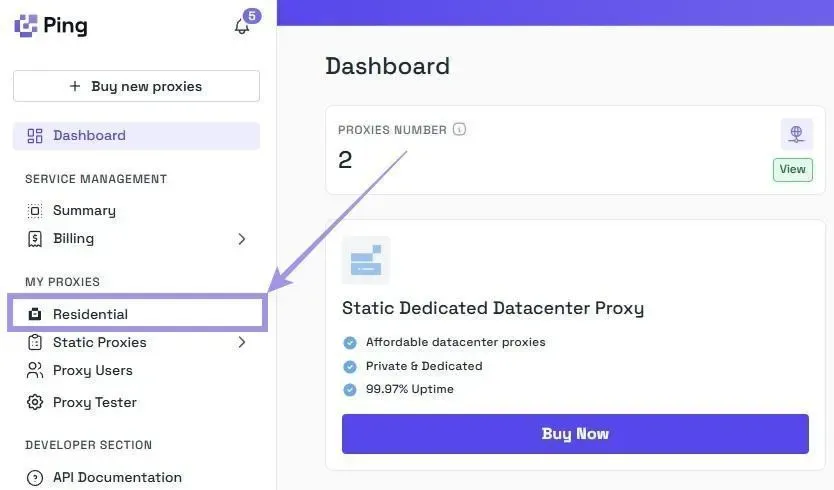
Residential Proxies
Residential proxies route traffic through real residential IPs and support geo-targeting. They’re useful when your workflow needs location flexibility, or when you want rotation behavior handled by the proxy network.
1. Go to My Proxies, then Residential, to open the residential generator.
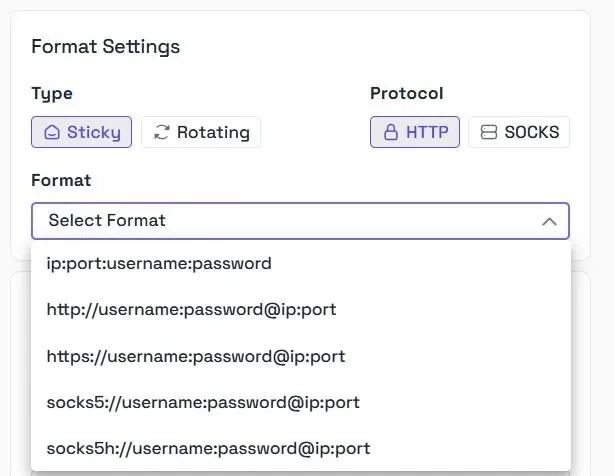
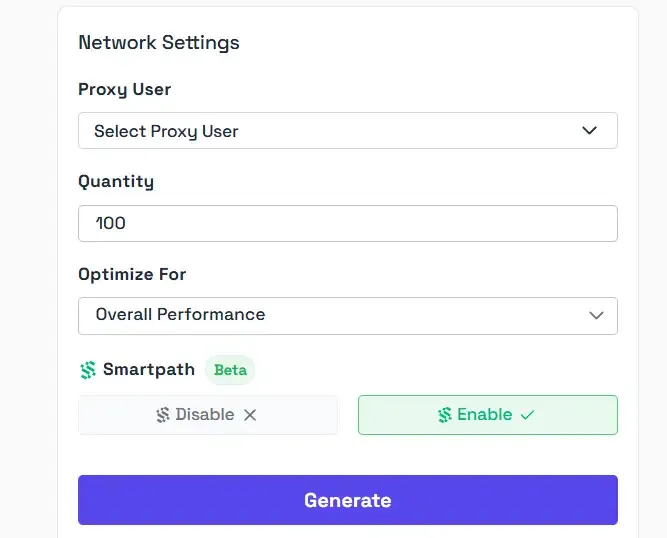
2. Choose the protocol you’ll use in XLogin (HTTP/HTTPS/SOCKS5) and select an output format you want to copy.
3. Set your location (start with the country first, and narrow down only if you truly need to).
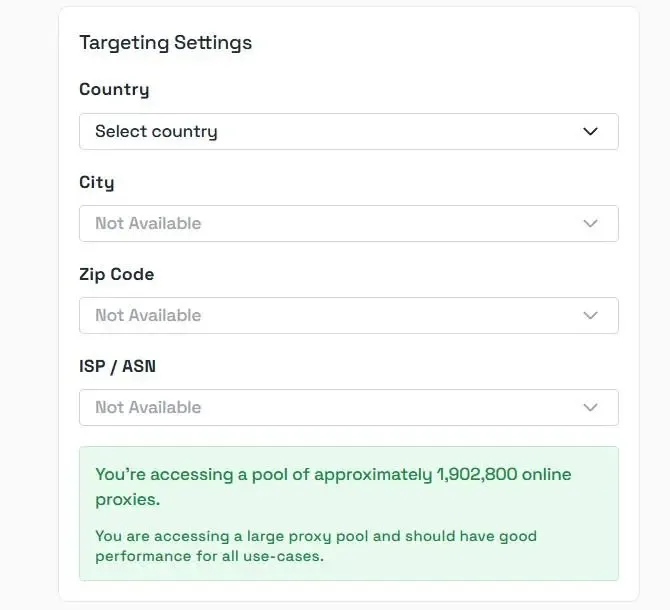
4. Once done, click on Generate and copy the proxy credentials. If you’re wondering what Smartpath is, it is a free in-house AI routing system that sends non-essential traffic via datacenter IPs. Enable it to reduce residential bandwidth and costs.
Note: If you’re working with proxies from multiple sources or a mix of proxy formats, our Proxy Formatter helps standardize them into a consistent structure. This makes it easier to paste the correct values into XLogin fields and prepare TXT files for batch import.
Common Mistakes And Best Practices For A Stable Setup
Most proxy issues in XLogin come down to consistency and hygiene. Here’s what to avoid, and what to do instead:
- Assign a unique proxy to each active profile to avoid IP overlap.
- Keep each profile focused on a single workflow to maintain consistent behavior signals.
- Stick to one region per profile and avoid frequent location changes.
- Test proxies before use so slow or unstable endpoints don’t break sessions later.
- Keep a simple record of profile name, proxy endpoint, location, and notes.
Note: XLogin applies whatever proxy endpoint you assign to the profile. If you need IP rotation, use a rotating proxy type on the provider side, or manually swap the proxy assigned to the profile when needed. Rotate only when there’s a reason (timeouts, failed connections, unexpected location, or a sudden spike in CAPTCHAs).