Python wget and CLI: Full Guide to Download Files and Pages
Trying to download a file or web page using Python? With different libraries capable of handling downloads, it gets more complex than expected. Python’s wget is the ideal choice if you want to download content without dealing with sessions and headers or needing a complex setup.
It works over HTTP, HTTPS, or FTP and gives you two options: a lightweight Python package or the wget command-line tool. This guide walks you through both. We’ve included advanced download techniques along with bulk and recursive downloads, and compare it with tools like requests and urllib so you can choose what fits best.
Setting Up wget in a Python Environment
Before you proceed with Python wget, it is important to realize what you want to work with. Do you install a Python package? Use a system command? Or both? The two are separate approaches, and they are often confused.
The python-wget package is a pip install used in scripts. On the other hand, the wget CLI is a system utility with more features, installed via apt, brew, or Windows binaries. Here’s how to install both and quickly check if everything is ready to use.
Installing the python-wget Package
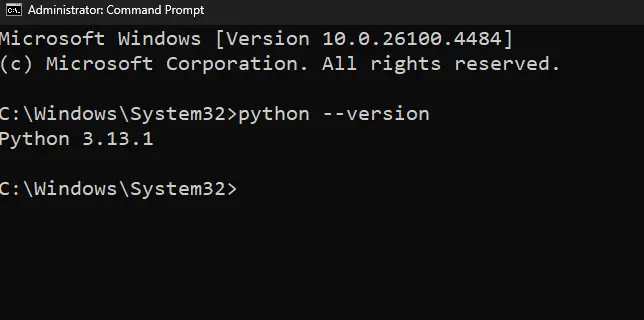
1. Download Python from the Python downloads page and install it. Once done, open terminal or command prompt and verify if Python is installed on your machine using the command: python --version
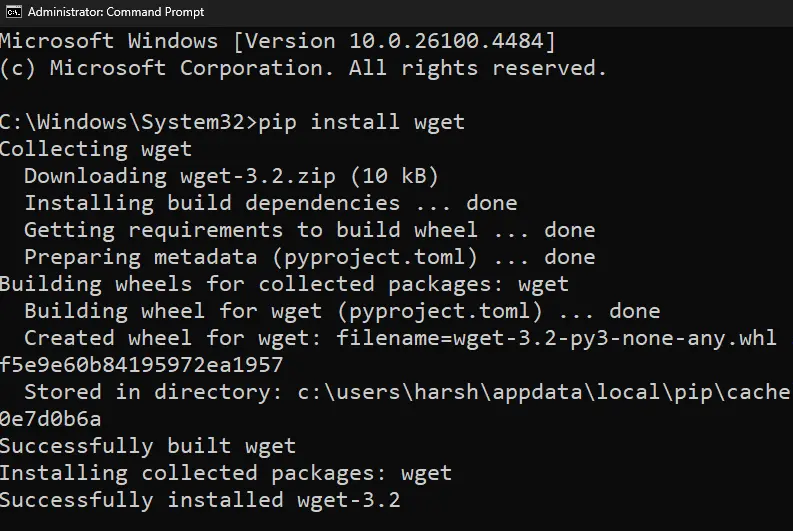
2. If you find the Python version displayed, proceed with installing the wget package using: pip install wget
3. Once done, you can import it into your script with the import wget command.
Installing the wget CLI Tool
1. Download and install wget from the official GNU wget site or through the wget executable. Here are commands for macOS and Ubuntu-based systems.
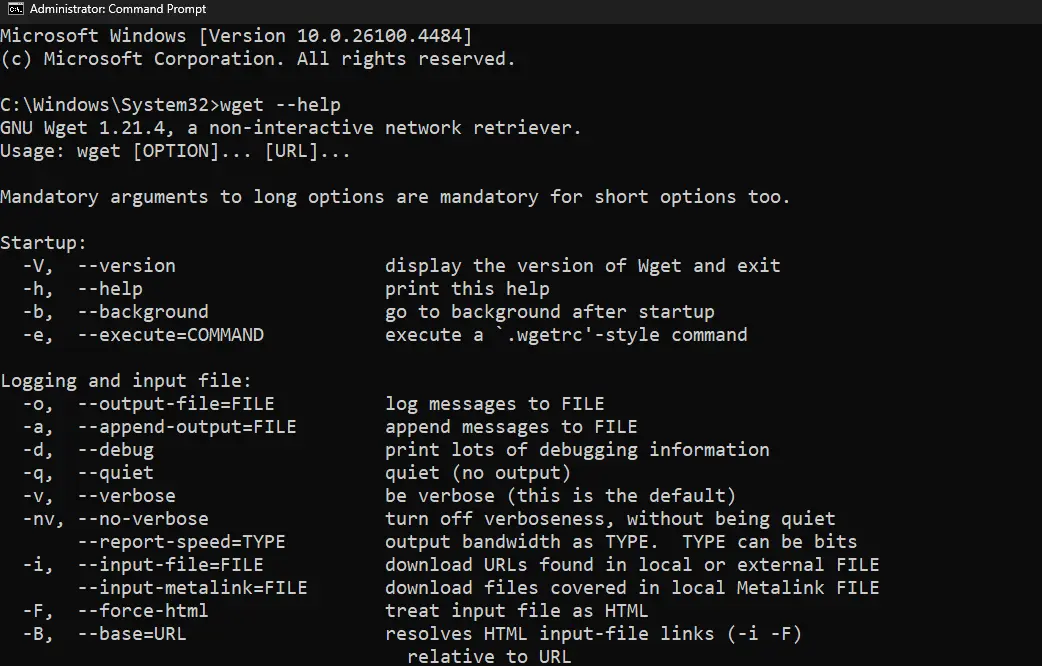
2. Upon installation, use the command wget --help to verify the installation.
Downloading Files and Pages with python-wget
The easiest way to download a file or page using Python is through the python-wget package. With the help of the examples below, you can go for quick downloads, save files to specific locations, and handle errors.
Basic File and HTML Downloads
The python-wget package lets you download any direct file link that is HTTP, HTTPS, or FTP based. You get to download PDFs, ZIPs, images, and even static HTML pages. However, it falls short if the sites require authentication, JavaScript rendering, or dynamic redirects.
This downloads the content at the given URL and saves it in the current working directory. If the URL points to a file, it’s saved as-is. If it’s a page, it saves the HTML.
Saving to a Custom Path
By default, wget.download() saves the file in the current working directory with the same name as in the URL. While handy, this is a letdown if you are organizing downloads or automating batch tasks.
Using the out parameter is the way around, allowing you to save the download to a specific folder or rename it.
Here, the file is downloaded and saved with a custom name in a specific directory. This helps keep downloads organized when automating tasks.
Error Handling and Limitations
If you’re facing unfinished or broken downloads, your request has likely failed. As Python wget doesn’t support custom headers, authentication, or timeouts, failures are even more likely. Hence, we recommend sticking to the static pages with direct file links.
The best part with Python wget is that it can still catch basic errors using a try-except block. Here’s an example.
This wraps the download in a try-except block. It helps catch issues like broken URLs or network errors, though python-wget won’t give you the reason for the failure.
Using wget CLI Inside Python Scripts
If you're using Python wget, you might have already noticed its limitations. Using wget CLI gives you full control over how downloads are executed. Simply run wget commands from your Python script to make your downloads more flexible and reliable.
Running wget with subprocess
The easiest way to use wget inside Python is by calling it directly with the subprocess module. This lets you run CLI commands from a script and handle the output, errors, and exit codes just like any other process.
In the code above, Python uses subprocess.run() to call wget as a system command. The URL is passed as part of a list, which safely executes it without needing manual string formatting.
Building a Custom wget_download() Function
With the wget call working, turn it into a reusable function. This way, you can use it to automate file downloads, manage different URLs and destinations, and even scale your scripts without repeating code.
A custom function is created to take a URL and an output path. It uses the -O flag to tell wget where to save the file, making it easier to reuse in different scripts.
Controlling Output: Retries and Quiet Modes
Every time a download fails, you don’t want to restart the whole script. If it's a download loop, it’s even worse as the terminal is flooded with progress logs. Hence, learning about retries and quiet mode is essential.
If you notice, wget is run with two flags. --tries=3 allows up to three retry attempts if the download fails. Whereas, --quiet hides progress messages and status output for a cleaner terminal.
Advanced Python wget CLI Download Techniques
Before you wonder if the wget CLI really adds anything extra, we are getting to the good part. Without the need for added lines of code, you can use the few extra flags to gain exceptional control over the downloads.
Resuming Incomplete Downloads
You can't start from scratch every time your connection drops or your script fails mid-download. With the -c or --continue flag, you can pick up right where it left off and avoid downloading everything again.
Timestamp-Based Conditional Downloads
When you're downloading files often, you don’t want to grab the same version again and again. The --timestamping flag checks if the server version is newer than what you already have, and skips the download if not, saving time and resources.
Custom Filenames and Download Paths
By default, wget saves the file with its original name in your current folder. If you’d rather organize things your way, use -O or --output-document to rename it. To save it in a specific directory, use -P or --directory-prefix.
Note: The best part with the wget -P flag is that it will even create the folder if it doesn’t exist.
In this example, wget saves the file as custom_name.zip inside the downloads folder. The -O flag sets the filename, and -P defines the target directory.
Automating Bulk Downloads with Python wget CLI
Adding a line of code to download each URL takes forever. Instead, you can use Python and wget CLI together to automate downloads. This is efficient, as it saves time and keeps the code clean.
Looping Over Multiple URLs
If you already have a list of URLs in Python, you can use a for loop over them and run wget for each one. The best part? You get the flexibility to filter, log, or modify URLs before downloading without leaving the script.
Using URL List Files
While adding lists to Python is a great way to download them one by one, creating a .txt file with multiple links is the ultimate move. It keeps your code cleaner and lets wget handle everything with a single command using the -i or --input-file flag.
In this example, wget reads URLs from the urls.txt file using the -i flag and downloads them in order.
Adding Delays for Proper Downloads
If you're downloading many files in a row, hitting a server too quickly can trigger blocks or errors. The --wait flag adds a pause between each download, keeping things smooth and server-friendly.
From the code above, wget processes each URL in urls.txt and uses the --wait=5 flag to pause for 5 seconds between downloads.
Recursive Downloads and Website Mirroring
Downloads don’t stop at a single page. You might want to download a full blog post along with its images, stylesheets, or even subpages. Don’t go through the hassle of building a crawler, as wget already has the tools.
--recursiveor-r: Follows links on the page and fetches the resources they lead to--level=Nor-l: Controls how deep wget goes while following links (e.g., 2 means it’ll follow links two levels deep)--convert-linksor-k: Rewrites links in the downloaded pages so they work correctly when viewed offline
Here’s an example that puts it all into action:
From the code above, wget downloads the target page and follows its internal links up to two levels deep. As it does, it rewrites those links so the saved pages stay connected and usable when opened locally.
Using Proxies with wget in Python
wget makes downloads easy, but large requests, repeated access, or scraping can lead to blocks, bans, or timeouts. The simple fix? Use proxies. They route your requests through alternate IPs, helping you stay anonymous and avoid getting blocked.
Setting Up Proxies Using Environment Variables and .wgetrc
Before using a proxy with wget, you need to tell wget where to find it. You can do this temporarily using environment variables, or make it persistent by configuring the .wgetrc file. Both methods define how wget connects through proxies, whether it’s HTTP, HTTPS, or FTP.
Note: wget expects proxy addresses to follow this structure: <PROXY_PROTOCOL>://<PROXY_IP_ADDRESS>:<PROXY_PORT>. If authentication is needed, add username:password@ before the IP.
If multiple proxy methods are defined, wget prioritizes command-line options, followed by environment variables, and config files.
Using Environment Variables (Temporary Method)
Environment variables let you quickly set up proxy support for wget, but the change only lasts for the current terminal session. If you close the terminal or reboot, these settings will be lost unless you add them to a shell config like .bashrc or .zshrc.
Using .wgetrc Configuration File (Persistent Method)
Unlike environment variables, .wgetrc lets you set proxy rules that stay active across reboots or terminal restarts. This is a wget-specific config file typically located at ~/.wgetrc for a single user, or /etc/wgetrc for system-wide changes.
To configure proxies, add the following lines to your .wgetrc file:
use_proxy = on tells wget to use the proxy settings you've defined. Without it, wget might skip using the proxy even if it's set. You can also pass a custom .wgetrc using wget --config ./path/to/.wgetrc if you don’t want to rely on the default file.
Using Proxy Per Command and Skipping Specific Domains
If you don’t want to modify environment variables or config files, the -e flag lets you set proxy settings directly in the command. Why is it useful? You can test or temporarily switch proxies without changing system-wide settings.
What if you want to skip a certain domain from using a proxy? This is where the no_proxy environment variable comes in. It lets you define domains or IP addresses where wget should bypass the proxy. This only works when set using export.
In this example, wget will not use the proxy for localhost, the loopback IP, or any subdomain of internal.example.com.
Using Authentication with Proxy Servers
Some proxies require a username and password before letting you connect. wget supports both inline credentials in the proxy URL and separate flags for clarity.
Option 1: Using --proxy-user and --proxy-password
Option 2: Using export with credentials in the proxy URL
Note: Wondering why we haven’t included SOCKS proxies? That’s because wget doesn’t support SOCKS. If your use case involves SOCKS proxies, you’ll need to switch to a tool like curl or use a proxy tunneling tool (e.g., tsocks, proxychains, or ssh -D) that can route wget traffic through a SOCKS proxy indirectly.
What’s Better for Downloads? python-wget vs requests vs urllib
Python wget is often the first choice for quick downloads. The wget CLI adds more control for things like retries and recursive downloads. But as the need for customization, error handling, or API-level logic increases, requests and urllib start to shine.
Not sure what to choose? Here’s a quick comparison that clears all.
| Factor | Python wget | wget CLI via subprocess | requests | urllib |
|---|---|---|---|---|
| Ease of Use | Easy (mostly one-liners) | Moderate (requires command building and subprocess module) | Easy (clean syntax, good for beginners) | Hard (verbose and lower-level syntax) |
| Request Customization | None | CLI flags allow user-agent and headers | Full control (headers, sessions, auth) | Supports headers, cookies, timeouts |
| Downloading Pages and Files | Good (handles single file downloads reliably) | Excellent with recursive flags (optimized for large and batch file downloads) | Excellent (supports streaming and chunked downloads for large files) | Moderate (can handle files, but requires manual stream management) |
| Error Handling | Minimal | Requires parsing stdout/stderr | Try/except, status code access | Standard Python exceptions |
| Redirect Handling | No automatic redirect support | CLI follows redirects by default | Follows redirects | With config |
| Extensibility | Not extensible | Hard to extend, you pass fixed flags | Highly extensible | Limited via low-level modules |
| Performance | Fine for small tasks | Optimized for batch or mirrored downloads | Efficient, especially with sessions | Fast, but more manual setup |
| Best Use Case | One-off file or page download | Bulk or recursive downloads, retries, automation | Web scraping, APIs, custom requests | Low-level control or limited environments |
Wrapping Up
When downloading files or pages using Python, the tool you choose can make a real difference. The Python wget package is quick to use and great for basic tasks, while the CLI brings more power and flexibility for advanced downloads.
That said, no matter which method you pick, it’s important to be mindful of how you use it. Always check a site’s robots.txt to know what’s allowed, and be careful with how frequently you send requests. Respecting these rules helps you avoid IP blocks and keeps your scraping or downloading safe and responsible.