Using fetch() in Node.js: A Beginner’s Guide to HTTP Requests

Trying to use HTTP requests in Node.js, but not sure how to start? Initially, fetch was a browser-only feature, but with the release of Node.js v18 and above, it’s available natively. As a result, no need for extra libraries or setup hassles.
This guide walks through how to get started with fetch in Node.js. We cover making basic GET and POST requests, working with headers, handling responses and errors, and understanding how it compares to other popular tools like Axios, so you’re all covered.
Getting Started: Enable Fetch in Node.js
If you're using Node.js for the first time, you'll need to download the Node.js installer from the official website. We recommend going with the latest Long-Term Support (LTS) release.
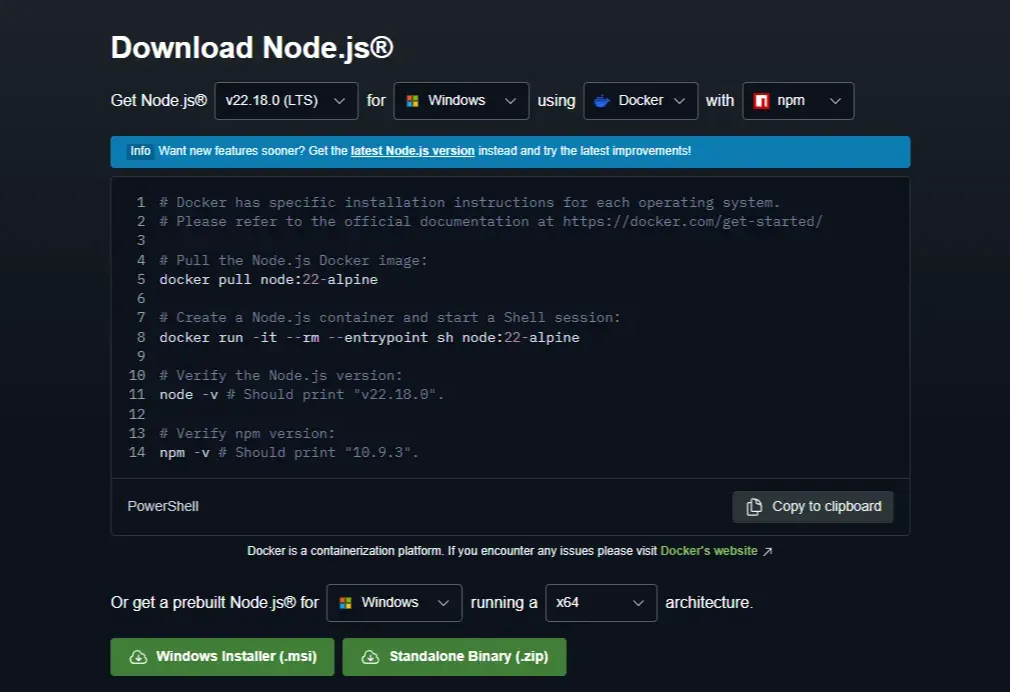
Once downloaded, run the installer and stick with the default options unless you're familiar with advanced setup options. Doing so installs both Node.js and npm (the Node package manager) on your machine.
In rare scenarios, Node.js might not be installed. To verify, open your terminal or any supported IDE and run the command: node -v before taking any action.
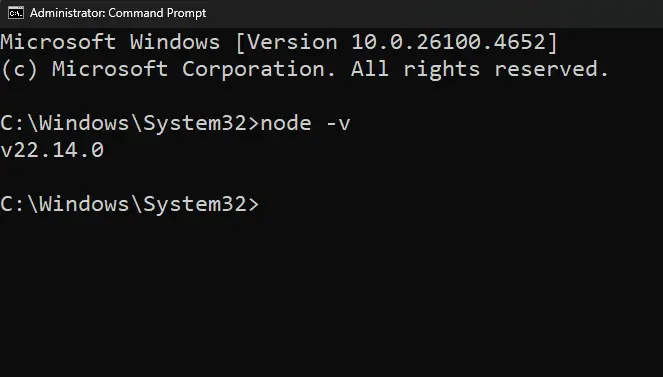
If the output shows a version number of 18 or higher, you're good to go. Node.js fetch will be available by default without extra configuration.
Making GET and POST Requests in Node.js
GET and POST requests are the most common HTTP requests used across web applications. As the name suggests, GET is typically used to retrieve data from a server. On the other hand, POST is used to send data to a server.
This is as simple as it gets, and these requests work the same way in Node.js. Below are simple examples for both.
Note: The code samples in this article are pseudo and are presented to help you better understand how things work, and can’t be put into execution.
GET Request
The function fetchData() sends a GET request to an API endpoint. The fetch() call retrieves the data, which is then parsed using await response.json() to convert it into a usable JavaScript object. Finally, the data is logged to the console.
POST Request
The postData() function sends a POST request with a JSON payload. JSON.stringify() converts the object into a string, as required by fetch. The Content-Type header tells the server it’s receiving JSON. Once the response comes back, it’s parsed and logged just like in the above GET example.
IMPORTANT: The above examples are for those on Node.js version 17 or below. As fetch() is not available by default, we’ve included the import line below.
This works upon installing the node-fetch package. However, if you're running Node.js v18 or later, this extra step is no longer needed.
Using Headers and Reading Response Data
When working with HTTP requests like GET and POST, headers act as metadata. It is the additional information that is sent along with the request or returned with the response, such as content type, authentication, etc.
On the response side, headers provide context, such as status codes or rate limits, while the body holds the actual data. These come together and help you understand what the server received, how it responded, and what to do next.
Sending Custom Headers with Fetch
Headers are passed as key-value pairs inside the headers property of the second argument in fetch(). This is where you define important request details. Let’s understand it better through custom headers with a POST request:
In the above example, we’re setting two headers: Content-Type to let the server know we're sending JSON, and Authorization to include a dummy token. These headers are added inside the headers object in the fetch call.
Note: Other headers, such as Accept, User-Agent, or custom fields, are also commonly used depending on the API’s requirements. You can add them in the same way, by placing them inside the headers object.
Reading Response Headers
Once a response is returned from the server, its headers can be accessed through the response.headers object. This is useful when you want to check things like content type, status metadata, or any limits set by the API.
You can read individual headers using .get(), or loop through all headers as shown below:
Here, we first use .get('Content-Type') to fetch one specific header. Then, using a for of loop, we print every header key and value in the response. This is helpful for debugging or understanding what extra information the server has returned along with the data.
Pro Tip: You can also use .has(), .keys(), or .entries() to work with response headers more selectively if needed.
Handling Errors in Fetch Requests
In the above examples, we’ve willingly left one thing out. What if the server is unreachable, or the response returns a 404 or 500? The above examples lack error handling.
As we're talking about Node.js, it’s important to know that fetch() only throws an error if the request fails at the network level. For other issues, like a failed HTTP response, you have to check manually. Let’s break down how to handle both types of errors cleanly.
Catching Network Errors with Try-Catch
It can be a DNS failure, a lack of internet access, or a broken endpoint that can cause a crash. When using async/await with fetch in Node.js, a try catch block can catch network-related issues. This way, you prevent crashes and decide how to respond when the request fails.
In this example, the catch block only runs if there’s a network problem. It doesn’t handle cases like a 404 or 500 server response, so we also need to check the status code explicitly.
Handling HTTP Errors with response.ok
Even if a server returns a response, the request might not have succeeded. For example, 404 means not found, and 500 means server error. Fetch doesn’t throw errors for these. Instead, it resolves the response, so the error can go unnoticed unless you check the status manually.
In this case, the response.ok property returns true only for HTTP status codes between 200 and 299. If the request fails outside that range, you can throw a custom error.
Pro Tip: It is ideal to combine both try catch and response.ok. We recommend doing this as it catches both network failures and HTTP errors.
Should You Use Axios Instead?
If you've been working with HTTP requests in Node.js, you've likely heard of Axios. Plus, it’s often recommended for its simplicity and extended features. But now that fetch() is natively supported in Node.js, do you really need Axios anymore?
Here's a quick comparison to help you decide which one fits your project better.
| Feature | Node.js Fetch (v18+) | Axios |
|---|---|---|
| Built-in Support | Yes (from Node.js v18+) | Requires manual installation via npm install axios |
| JSON Handling | Manual: use JSON.stringify() and .json() | Automatic transformation of JSON request/response |
| Error Handling | Only throws for network errors. Manual status checks needed | Handles both HTTP and network errors automatically |
| Timeout Support | Not supported natively | Supports request timeouts via config |
| Custom Headers | Fully supported, but must be set manually | Fully supported with a simpler configuration |
| Interceptors | Not supported | Supports request and response interceptors |
| File Upload Support | Supports FormData, but requires manual setup | Built-in helpers for multipart/form-data |
| CSRF/XSRF Protection | Must be implemented manually | Built-in support via config (xsrfCookieName, etc.) |
| Browser & Server Compatibility | Works in browser and Node.js (v18+) | Works in both environments regardless of Node version |